
You’ve made the decision: it’s time to graduate from your current spreadsheet tool, whether that’s Google Sheets or Excel, to Airtable. Maybe your data has grown too complex, your team needs better collaboration tools, or you’re ready to unlock automation possibilities that traditional spreadsheets simply can’t provide. Whatever your reasons, the migration process doesn’t have to be painful. Think of it as moving your data from a basic spreadsheet to spreadsheets on steroids.
In this guide, we’ll walk you through a systematic approach to transfer your data from Google Sheets or Excel to Airtable while preserving its integrity and enhancing its structure. Whether you’re migrating a simple task tracker or a complex business operations system, these steps will help you make the transition smoothly.
Planning Your Migration: The Key to Success
As with any data transition, planning makes all the difference between a smooth migration and a frustrating ordeal. Before importing a single cell, take these preparatory steps:
Evaluate Your Current Spreadsheet Structure
Take inventory of what you currently have:
- Sheet/Tab organization: How many sheets or tabs do you have? What data lives where?
- Data relationships: Do you reference data between sheets/tabs? How?
- Formulas and calculations: What calculations are critical to your operations?
- Automations: Are you using any Google Sheets scripts, Excel macros, or add-ons?
Plan Your Airtable Architecture
Airtable isn’t just a prettier spreadsheet—it’s a relational database with powerful capabilities. Consider how to optimize your data structure:
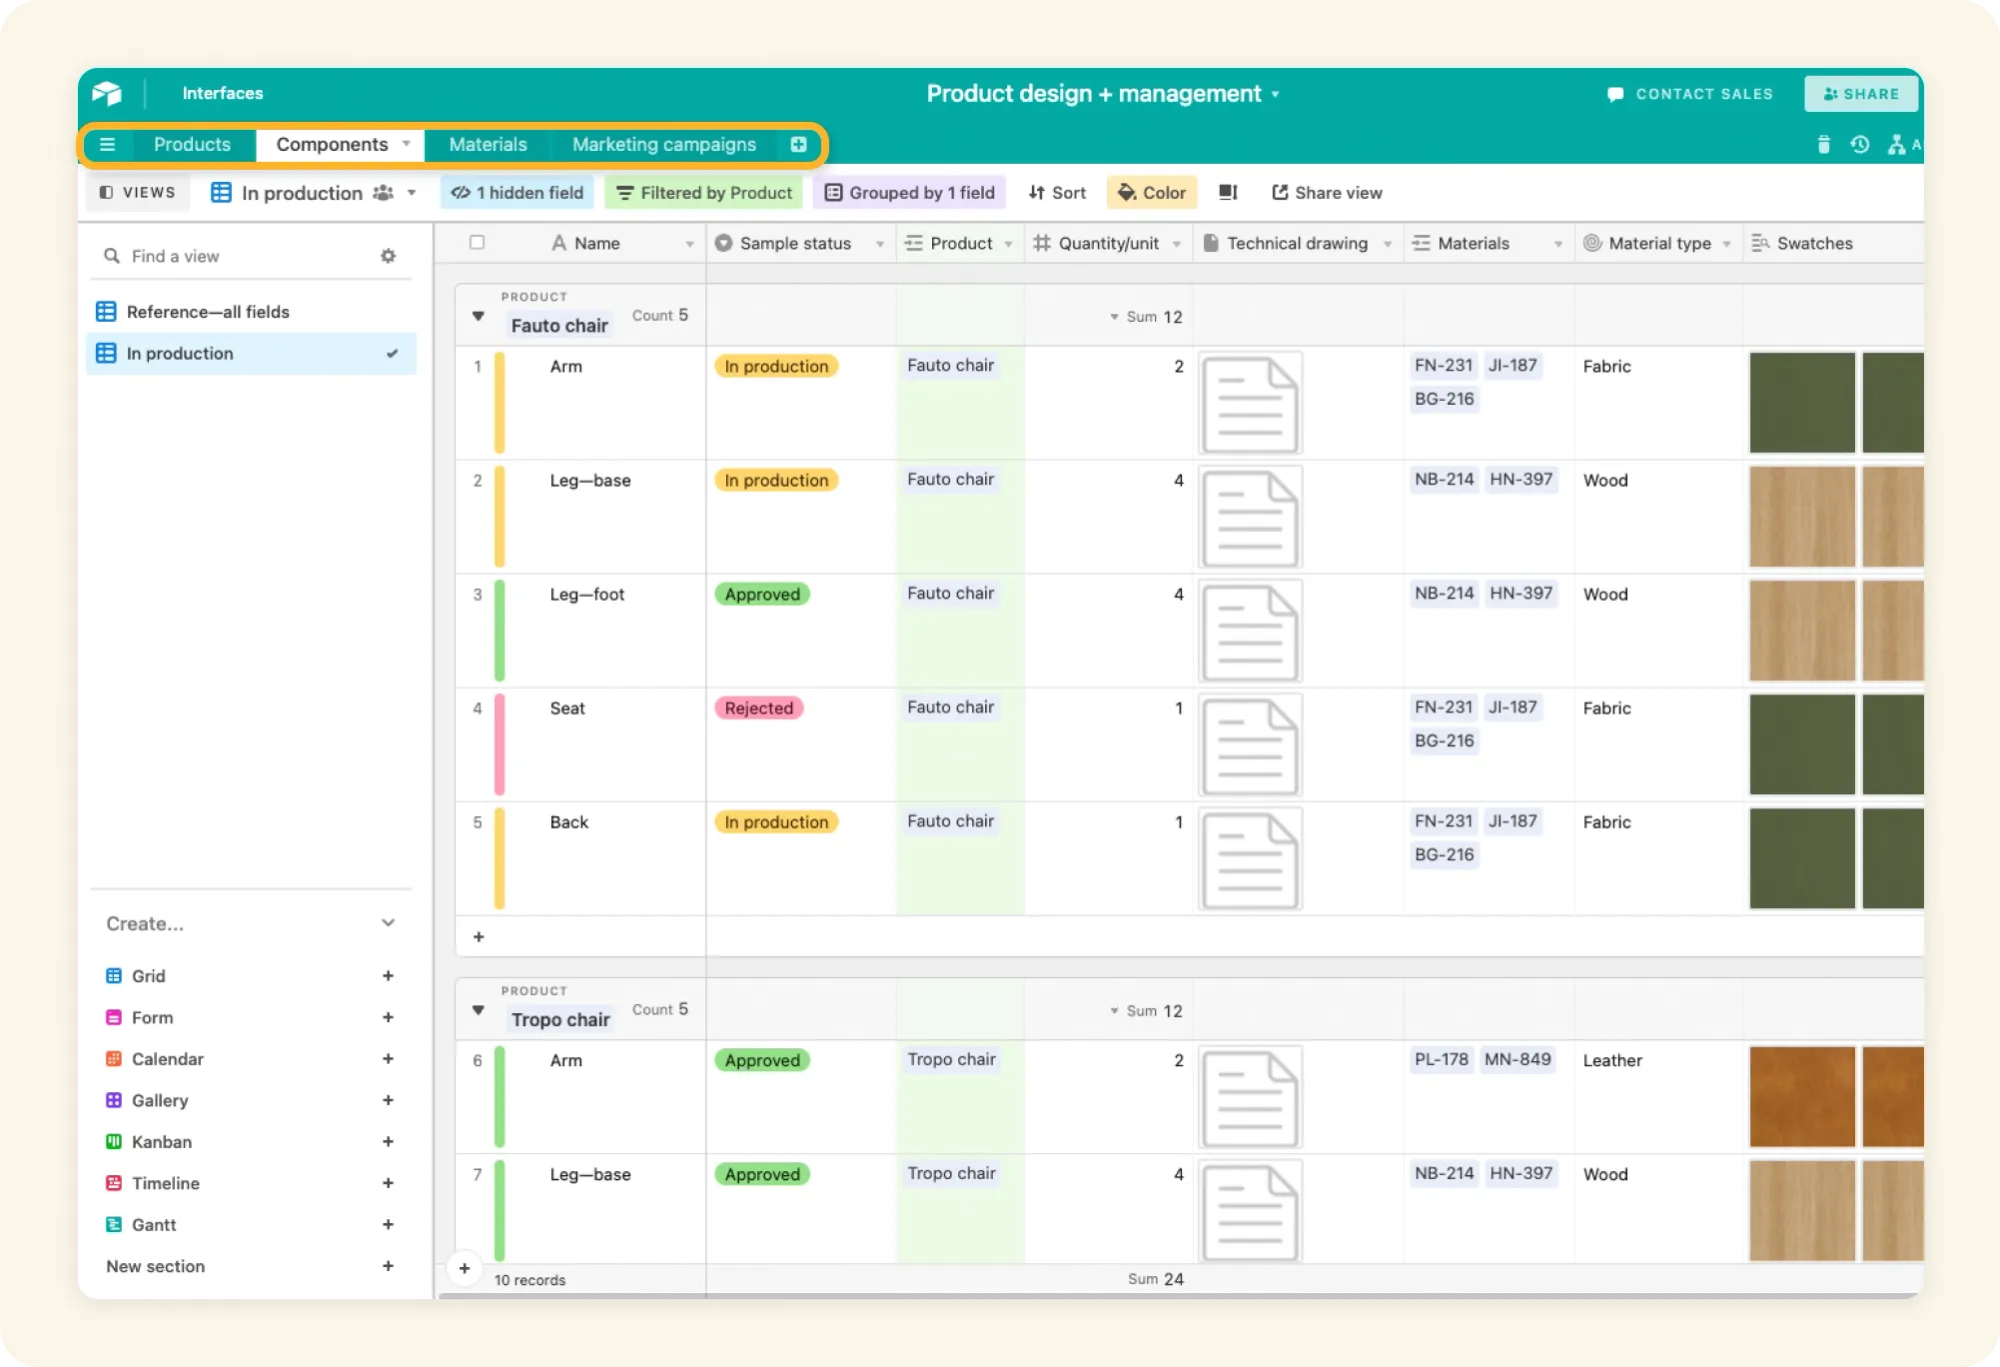
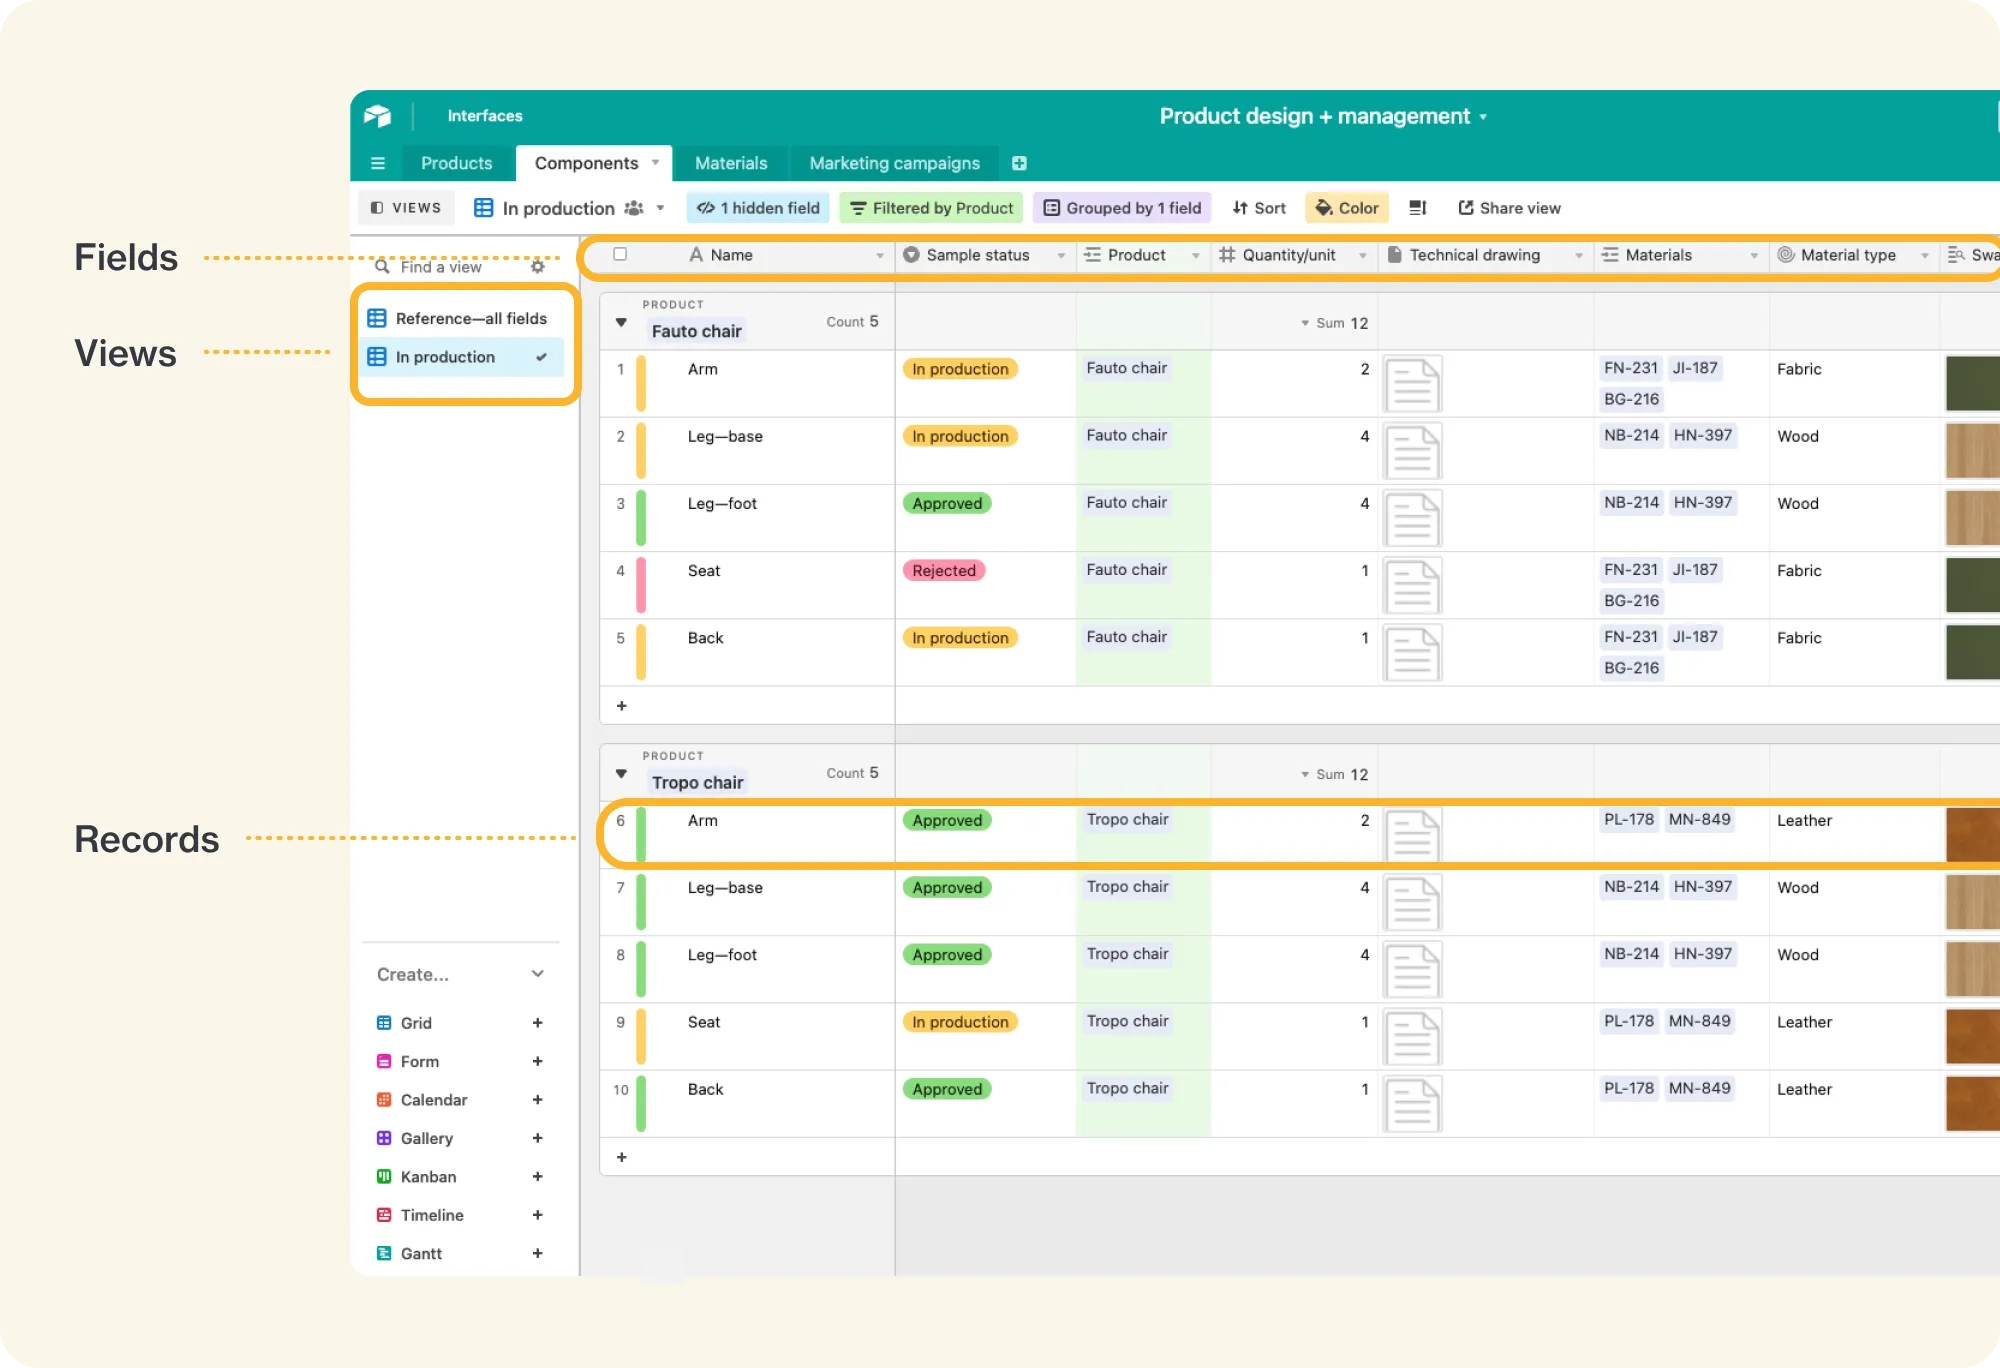
- Tables: Each sheet or tab in your spreadsheet will likely become a separate table in Airtable.
- Field types: Airtable offers over 20 specialized field types beyond text and numbers (attachments, checkboxes, ratings, etc.).
- Linked records: Replace cross-sheet/tab lookups (like VLOOKUP or INDEX/MATCH) with proper linked records.
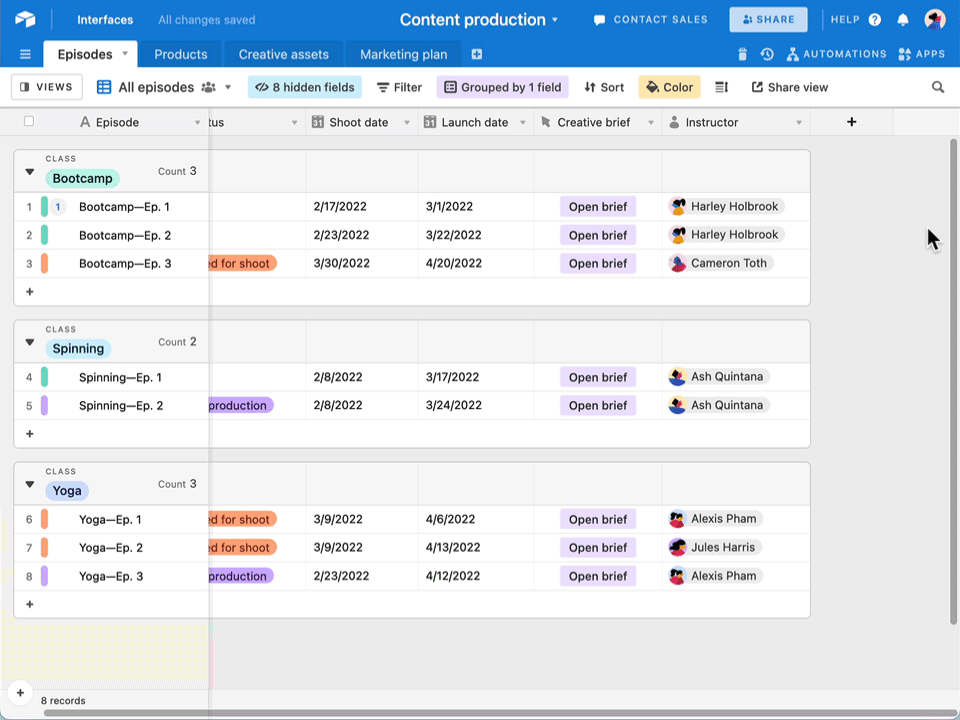
- Views: Plan different ways to visualize your data (Kanban, Calendar, Gallery).
Map Your Data Relationships
One of Airtable’s most powerful features is the ability to create explicit relationships between data. Identify relationships in your current sheets/tabs:
- One-to-many relationships: E.g., A client associated with multiple projects
- Many-to-many relationships: E.g., Team members assigned to multiple projects
- Reference data: E.g., Status options, categories, or other standardized fields
Sketch these relationships—even a simple diagram can help clarify how your Airtable base should be structured.
Step-by-Step Migration Process
With your plan in place, it’s time to execute the migration. Airtable offers a few ways to get your data in.
Option 1: Direct Import from Google Sheets or Excel (Recommended)
Airtable’s native import feature is the most straightforward method for many datasets.
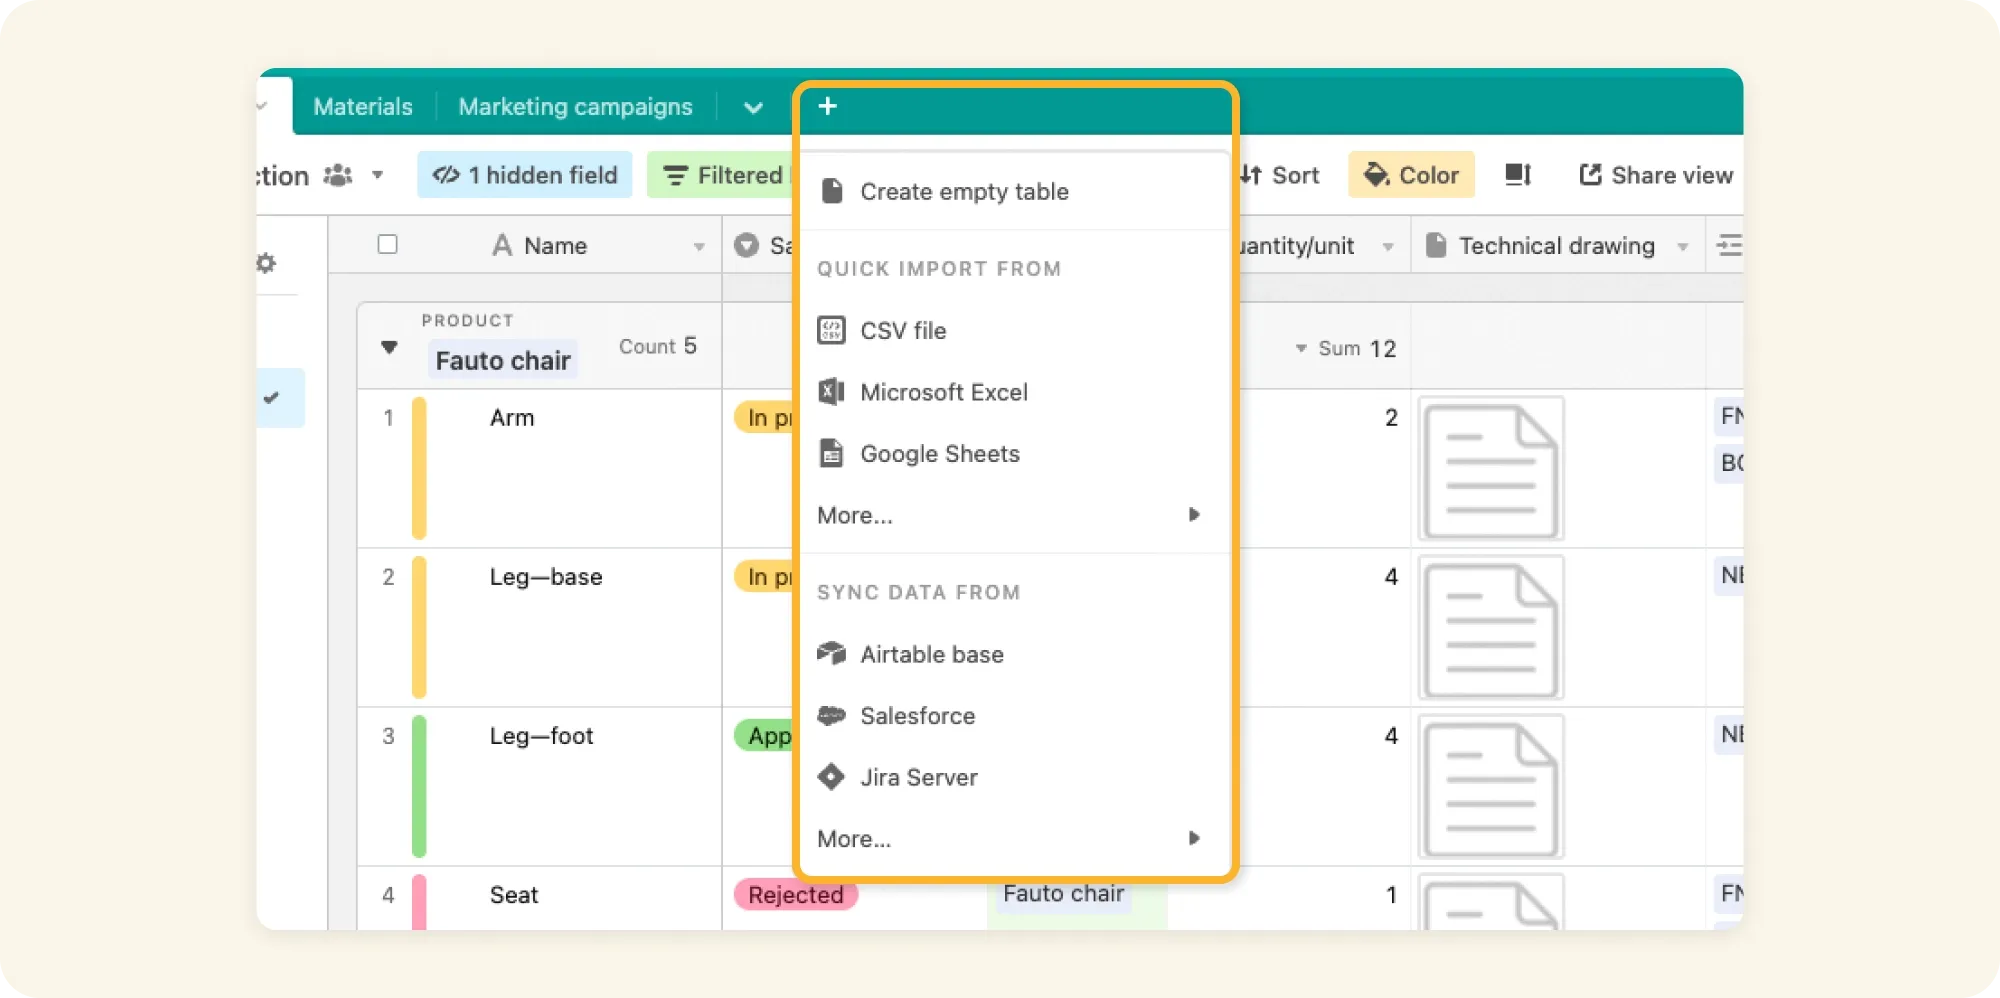
- Log into Airtable or create an account.
- Click “Add a base” and choose to start from scratch or use a template.
- In your new or existing base, click the ”+” icon to add a new table.
- Click “Import data” and select your source:
- For Google Sheets: Choose “Google Drive” and select your spreadsheet file. You may need to connect your Google account.
- For Excel: Choose “Microsoft Excel” and upload your
.xlsxor.xlsfile.
- Select the specific sheet or tab you want to import.
- Review the preview to ensure columns are correctly identified and data looks right.
- Click “Import”.
Note: The native import feature has a file size limit of 5MB for both Google Sheets and Excel files. If your data exceeds this limit, consider splitting it into multiple files or using the CSV import method below. Creator permissions are required to import third-party data into an existing base.
Option 2: Import via CSV File (Alternative Method)
If your file is larger than 5MB, you prefer working with CSVs, or encounter issues with direct import, exporting to CSV and then importing is a reliable alternative.
- Open your Google Sheet or Excel file.
- Go to File > Download (Google Sheets) or File > Save As (Excel).
- Select “Comma-Separated Values (.csv)” as the file type.
- Save each sheet/tab you want to migrate as a separate CSV file with a descriptive name.
- If you have multiple sheets/tabs, repeat for each one.
- Create Your Airtable Base (if you haven’t already):
- Log into Airtable or create an account.
- Click “Add a base” and either:
- Start from scratch with an empty base.
- Choose a template that resembles your needs and modify it.
- Import Your CSV Files:
- In your Airtable base, click the ”+” icon to add a new table.
- Name your table (usually matching the original sheet/tab name).
- Click “Import data” > “CSV file”.
- Upload your CSV file.
- Review the preview to ensure data is aligned correctly with columns.
- Click “Import”.
Export Your Spreadsheet Data to CSV:
Pro Tip: For sheets/tabs with formulas, consider creating a separate CSV that preserves the formula results as values. You’ll rebuild the calculations in Airtable, but this ensures you have the historical data.
4. Map and Customize Field Types
After the initial import (regardless of method), optimize your fields:
- Click on a column header to access field configuration.
- Change the field type to match your data (numbers, dates, checkboxes, etc.).
- Set any field properties (currency symbol, decimal places, etc.).
- Rename fields if needed for clarity.
- Repeat for all fields across all tables.
Pro Tip: Start with the most critical tables/fields and work your way to less frequently used ones. This approach lets you see progress faster and focus your efforts where they matter most.
Post-Migration Optimization
Now that your data is in Airtable, it’s time to leverage its full capabilities:
Set Up Linked Records
Replace any text references between tables with proper linked records:
- Create a new “Link to another record” field.
- Select the table you want to link to.
- Use Airtable’s “Find and replace” to match text entries with their corresponding records.
- Once linked, you can remove the original text field if it’s redundant.
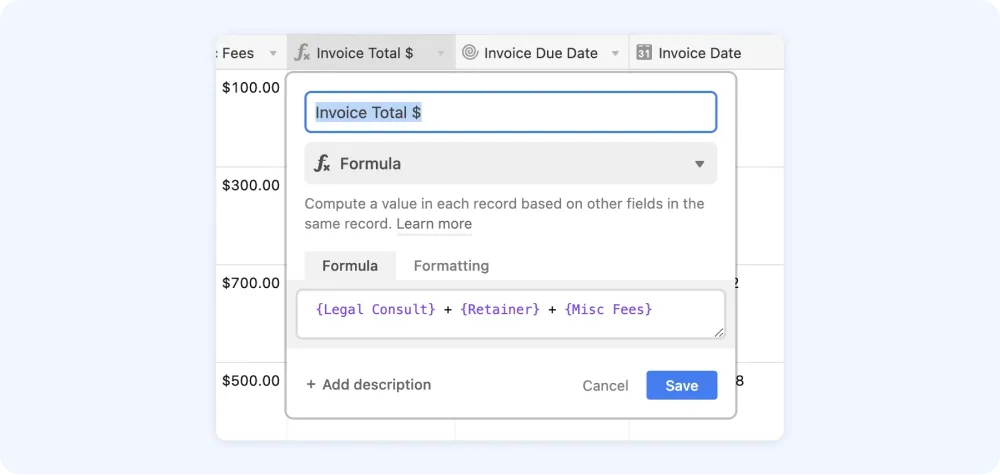
Create Calculated Fields
Rebuild any calculations from your spreadsheets:
- Add a “Formula” field.
- Use Airtable’s formula language to recreate your calculations.
- Test formulas with sample data to ensure they match your original results.
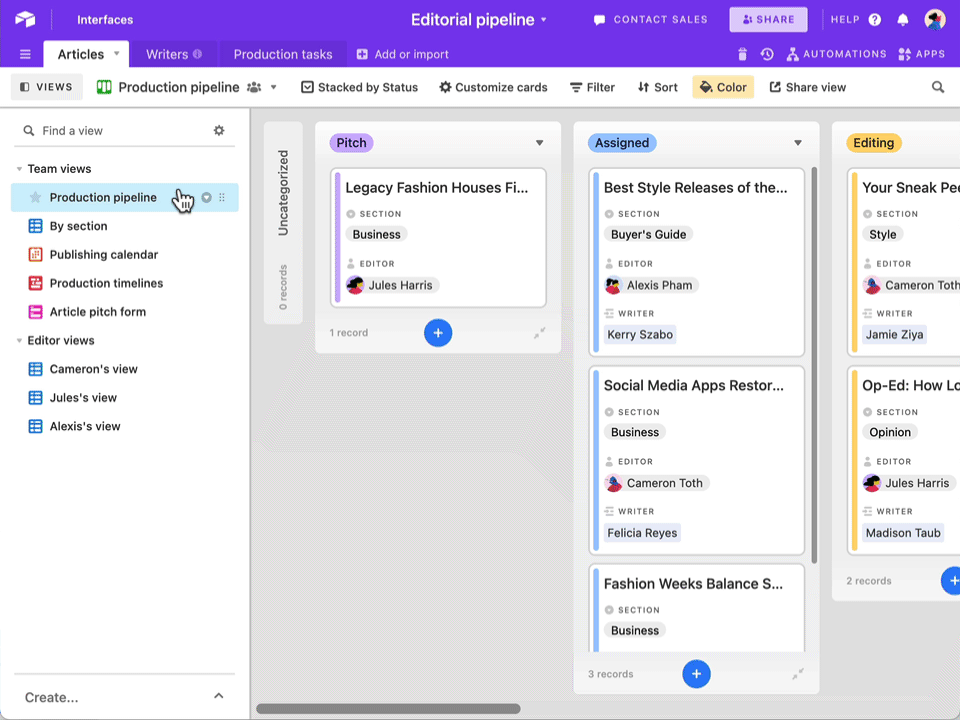
Implement Views for Different Needs
Create customized views of your data:
- Click “Grid view” in the top-left and select “Create a new view”.
- Choose a view type (Grid, Calendar, Kanban, Gallery, Form, etc.).
- Configure filters, sorts, and visible fields for each view.
- Name views based on their purpose (e.g., “Marketing Calendar,” “Project Status”).
Data Cleanup and Validation
This is your opportunity to improve data quality:
- Look for inconsistent data formats and standardize them.
- Set up single or multiple select fields to replace free text in categorical fields.
- Add validation rules where appropriate.
- Consider creating form views for future data entry to maintain consistency.
Common Migration Challenges and Solutions
Even with direct import capabilities, you may encounter some obstacles. Here’s how to address them:
Complex Formulas/Macros
Challenge: Spreadsheet formulas and macros use different syntax than Airtable formulas.
Solution:
- Keep a reference of your original formulas/macros.
- Use Airtable’s formula field reference to find equivalent functions.
- Break complex formulas into smaller, more manageable parts.
- Consider using automation for very complex calculations or logic previously handled by macros.
Multiple Interconnected Sheets/Tabs
Challenge: Maintaining relationships between data in multiple sheets or tabs.
Solution:
- Import primary tables first (those referenced by others).
- Create linking fields before importing secondary tables when possible.
- Use consistent naming conventions across tables.
- Document your table relationships for future reference.
Formatting and Styling
Challenge: Some formatting may not transfer during import.
Solution:
- Focus on data accuracy first, then recreate essential formatting using Airtable’s native options.
- Use Airtable’s conditional formatting for dynamic styling.
- Consider whether complex formatting is necessary or if it can be simplified.
Data Size Limitations
Challenge: Your spreadsheet data exceeds the 5MB limit for direct import.
Solution:
- Split your large spreadsheet into multiple smaller files (under 5MB each) and import them as separate tables.
- Use the CSV import method, which may handle larger files or can be processed in chunks.
- Consider if all data is necessary or if some can be archived or excluded.
Maintaining Continuity During Transition
Challenge: Keeping operations running while migrating.
Solution:
- Migrate during a low-activity period if possible.
- Consider running both systems in parallel briefly.
- Create a clear cutover plan with your team.
- Document new workflows in Airtable before fully transitioning.
Final Tips for Migration Success
- Start small: If you have a complex system, migrate one sheet/tab at a time.
- Test thoroughly: Validate your data and formulas before retiring your old spreadsheets.
- Train your team: Schedule time to show team members how to use the new Airtable system.
- Document your process: Create documentation of your new Airtable structure and workflows.
- Iterate and improve: Use this opportunity to rethink how you structure and interact with your data.
Conclusion
Migrating from Google Sheets or Excel to Airtable is more than just transferring data—it’s an opportunity to reimagine how you organize and interact with your information. By following this systematic approach and utilizing Airtable’s import capabilities, you can avoid common pitfalls and set your team up for success with a more powerful, flexible data management system.
The initial time investment in proper planning and thoughtful migration will pay dividends as you leverage Airtable’s enhanced capabilities for visualization, automation, and collaboration. Think of it as upgrading from a bicycle to a sports car – your data can move faster and take you further.
Data migrated? Great! Now let’s unlock the power of visualization. If you’re following along and haven’t signed up yet, get started with Airtable via our link! Next, we’ll dive into Airtable’s powerful views and interfaces.
This post is part of the StructLabs.io Airtable Mastery series, designed to help digital professionals graduate from spreadsheets to powerful database solutions.
Affiliate Disclaimer: This article contains affiliate links. If you sign up for Airtable through our link, StructLabs.io may earn a commission at no extra cost to you.
AI Disclosure: This article was drafted with the assistance of an AI model.
Images from Airtable website.